Scriptly Helps Pharmacies Identify Trends in Real Time with Reveal
Explore the complete guide to embedded analytics, including architecture, security, AI capabilities, implementation patterns, and evaluation criteria for modern applications.
Read NowFully branded white label dashboards offer custom personalization so that your customers can present a holistic service that is all branded to one company.
Read NowAs more organizations begin offering analytical capabilities as part of their apps, embedding analytics into your Blazor applications is no longer optional. Learn how to do it
Executive Summary:
With abundant data, users have shifted to a data-first approach to guide their decision-making process.
And it’s easy to see why.
Integrating powerful BI with fully interactive visuals and reports into your Blazor applications makes data analytics accessible to all your end-users. With in-context, accessible data, your users can quickly extract relevant insights when needed - free from disruptions and chaos caused by switching applications or shuffling data.
As an embedded analytics solution, Reveal can help you achieve that.
Reveal helps you easily and quickly embed interactive dashboards and reports in your Blazor applications with self-service analytics features like in-context editing, data blending, dashboard linking, calculated fields, and more.
In this article, we’ll explore how you can successfully integrate embedded analytics in your Blazor apps with Reveal.
If you’re new to Reveal, you can learn more about our product by taking a tour of our website or by watching our Reveal Product Overview video.
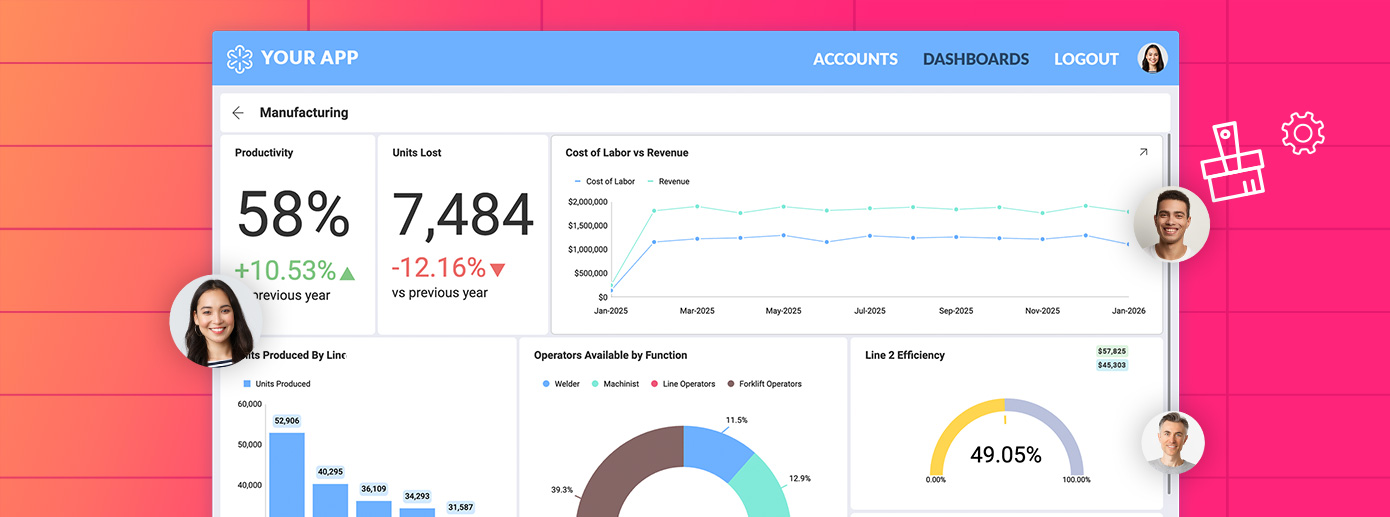
Embedding analytics in your Blazor apps allows you to view key business data in your natural workflow. It lets you easily spot trends and patterns in data that would’ve otherwise been missed. With access to real-time insights, you (and all your users) can make better-informed decisions that can guide your business success.
Data analytics also helps businesses to streamline workflows, manage resources and optimize processes and performance for maximum profitability. With the right data, you can also identify new product/service opportunities to increase your revenue.
The following 7 steps will show you how easy it is to get started with enabling rich data visualizations and dashboards in your Blazor application. There are both client and server configurations that need to happen. To get started, download the SDK
Once you’ve done that, let’s create and enable embedded, self-service BI in your Blazor app in 7 easy steps!
Since this is a Blazor Server app, open Visual Studio and create a new Blazor Server app with the defaults. Once completed, the application is created; right-click on your project, select Manage Nuget Packages, and search nuget.org for the Reveal.Sdk.AspNetCore nuget package, and install it to your project.
To test the Reveal SDK client, we ship sample dashboards that you can use to ensure your configuration is correct. Reveal uses a known folder structure to automatically load and save dashboards - if you use a folder named Dashboards in the root of your project, you are not required to write any additional Load / Save code.
Create a folder named Dashboards
Unzip and copy the sample dashboards (Marketing, Sales, Campaigns, Manufacturing) to the newly created Dashboard folder from this zip file: https://users.infragistics.com/Reveal/sample-dashboards.zip
In Program.cs:
using Reveal.Sdk;
builder.Services.AddControllers().AddReveal();
To enable Reveal client JavaScript dependencies, the Pages\_layout.cshtml file needs to be updated. Add the following code before the end of the closing tag.
<script src="https://cdn.jsdelivr.net/npm/jquery@3.6.0/dist/jquery.min.js"></script>

<script src="https://unpkg.com/dayjs@1.8.21/dayjs.min.js"></script>

<script src="https://dl.revealbi.io/reveal/libs/1.5.0/infragistics.reveal.js"></script>

<script type="module">
    import "./js/revealview.js";
</script>The Reveal SDK Client uses is configured through the RevealView. To load the RevealView, you need to add a JavaScript function on the client. This is also where you would configure any properties that should be enabled when a dashboard renders.
Add js folder in the \wwwroot\ folder
In the js folder, add a JavaScript file named revealview.js with the following code:
window.loadRevealView = function (viewId, dashboardName) {

$.ig.RevealSdkSettings.setBaseUrl('https://samples.revealbi.io/upmedia-backend/reveal-api/');

$.ig.RVDashboard.loadDashboard(dashboardName, (dashboard) => {

var revealView = new $.ig.RevealView("#" + viewId);

revealView.dashboard = dashboard;

});

}In this Blazor application, you are going to load the dashboards into a
@inject IJSRuntime JSRuntime<select @onchange="selectedDashboardChanged">
<option>Campaigns</option>
<option>Healthcare</option>
<option>Manufacturing</option>
<option>Marketing</option>
<option>Sales</option>
</select> <div id="revealView" style="width:100%; height:750px"></div> @code {
protected override async Task OnAfterRenderAsync(bool firstRender)
{
if (firstRender)
{
await JSRuntime.InvokeVoidAsync("loadRevealView", "revealView", "Campaigns");
}
}
} async void selectedDashboardChanged(ChangeEventArgs e)
{
await JSRuntime.InvokeVoidAsync("loadRevealView", "revealView", e.Value!.ToString());
}
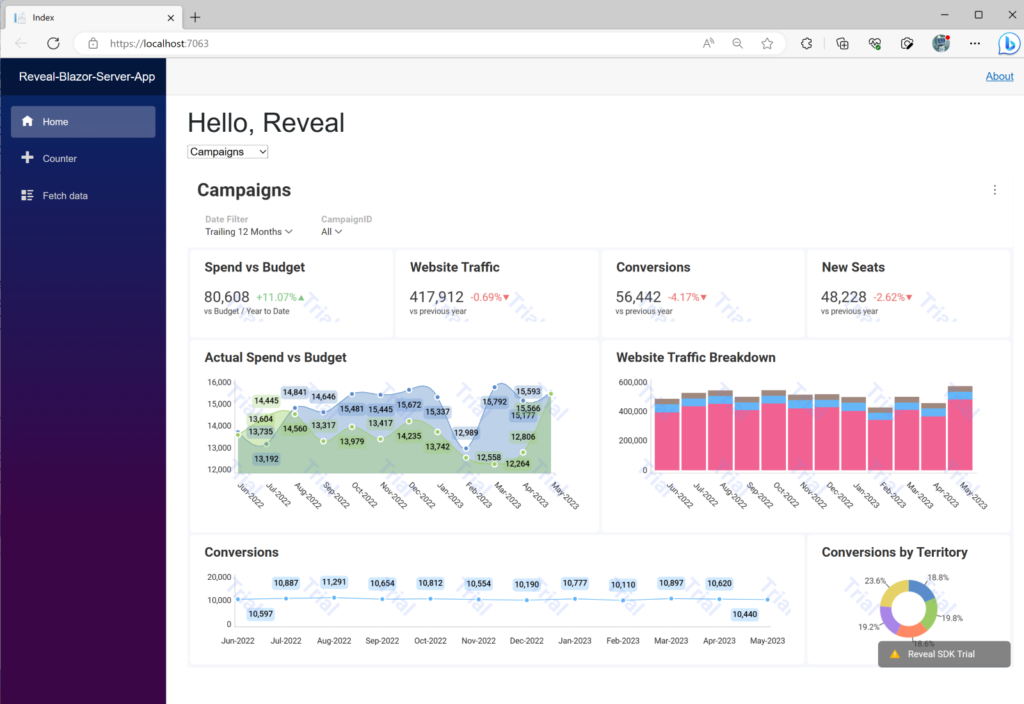
} At this point, all the steps are completed to enable powerful BI features in your Blazor application. Run your application to see the results!
For the full tutorial, watch this video that walks you through the steps of embedding analytics in your Blazor apps with Reveal.
https://www.youtube.com/watch?v=OMddgybtDi8
Make sure to watch our other videos, on our YouTube channel, for more in-depth information on embedded analytics and business intelligence and the importance of data for businesses. We cover topics like embedding analytics in Angular, React apps with Node.js, and JavaScript HTMP apps, creating embedded BI dashboards, and more. Remember to subscribe so you can see all future videos from our experts.
And if you’re trying to embed analytics in your Blazor apps with Reveal but are facing any issues on your way, get in touch with our product team via our Discord channel.
You can also learn more about Reveal and how it works by scheduling a free product tour. Alternatively, you can also download our SDK to try it yourself.